I have been using Canon equipment since I first started in photography 5/6 years ago. More specifically the Canon 5Dmk2 combined with the Canon 24-105mm f4, 70-200mm f4, 50mm f1.4 and 85mm f1.8. This setup I had been happy with for a long time, but as the 5dmk2 got older I was looking for a more modern camera with higher megapixels.
When I first saw the Sony A7 series released on to the market I was skeptical that the tech sheets and hype over the new Sony system could actually be true in such a small package. I was very interested in purchasing one of the original A7R mk1 bodies, but was put of by the limited amount of ‘portrait’ lenses available, reviews on poor battery life and the electronic viewfinder not being as good as a optical viewfinder.
As I saw more and more photographers using the Sony A7R mk2 and hearing/seeing very good results I decided to sell my Canon equipment and switch to the Sony e-mount.
I purchased a Sony A7r mk2, Carl Zeiss 55mm f1.8, Carl Zeiss Batis 85mm f1.8 and Sony 70-200mm f4 lens. After a few weeks of getting used to the new system I can safely say that it was definitely the right decision.
After now owning the Sony A7R mk2 for a year I have written a review/experiences from the perspective of a portrait/fashion photographer.
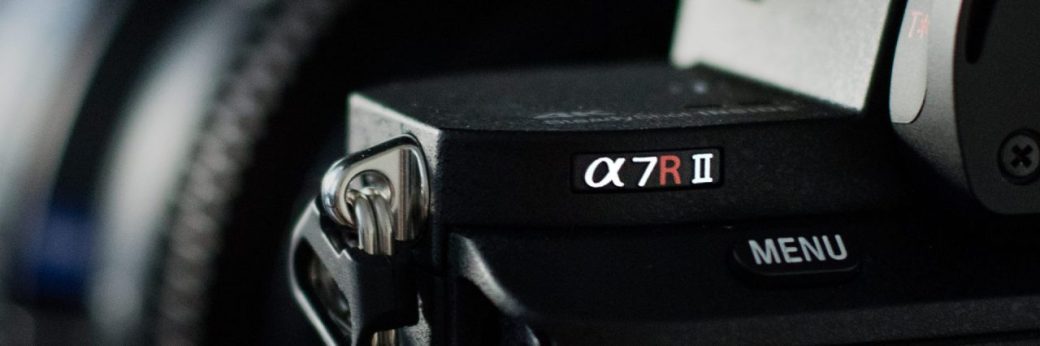
Although not everyones cup of tea, I find the modern sleek design of the Sony A7R mk2 very attractive without being too ‘over the top’ or ‘in your face’. I like the small/light form factor of the body, most buttons and dials in the right places (some could be better placed).
With a 42.3 megapixel full frame sensor the A7R mk2 produces fantastic, clean files with brilliant detail. The files from the A7R mk2 are double the size of my old Canon 5Dmk2, unfortunately this also does have a downside; when taking successive shots with the A7R mk2’s the buffer will take a while to store the images to the SD card. Purchasing the fastest SD cards you can will help nullify this issue (these are the ones I use). Unfortunately you can’t playback images while writing to the SD card also.
Shooting portraits with the A7R mk2, when paired with a compatible lens (all native Sony/Carl Zeiss E-Mount lens to my knowledge) is made easier/faster by the face/eye tracking Auto-Focus system. This is a feature I find myself always using. It is fast and surprising very reliable/accurate. I don’t often use manual focus, but the manual focus aids such as focus peaking and zebra are nice features, they really help when I have had to manually focus from time to time.
Colours and contrast from the Sony RAW files are good. Skin tones from RAW files straight from the camera I find require slight retouching to get them looking decent. My Canon 5Dmk2 files were much more true/vibrant straight from camera.
70% of the time shooting portraits and fashion images I find myself using the camera in “portrait” / “upright” orientation. This is when the small form factor of the camera body become a little bit fiddly. An easy fix for this was to purchase the VG-C2EM vertical battery grip. The grip makes the camera overall bigger and a little heavier (but still smaller/lighter than most pro DSLRs), it gives improved ergonomics for portrait shooting, improved body balance (especially with the 70-200mm lens) and doubled battery life.
Battery Life, this was one of the original factors that made me initially hold off from getting in to the Sony alpha A7 system. Yes, the batteries don’t last very long at all, but the way I work, changing batteries from time to time isn’t a problem. The Sony A7R mk2 comes with 2 batteries in the box and cheaper 3rd party batteries are available from Amazon or eBay and are very good. I keep 4 batteries in total in my camera bag when on a portrait shoot. When shooting in my studio, using the battery grip (with 2 fully charged batteries) I can get a whole portrait session done with around 60% still remaining on the 2nd battery. This will typically be 500/750 pictures taken.
The ISO performance of the A7R mk2 is great, much better than the canon 5D mk2. I can easily shoot useable portraits up to ISO 3200. I personally wouldn’t go past ISO 6400 for portraits; the skin, I found the noise and colour degradation are too far gone at the this point.
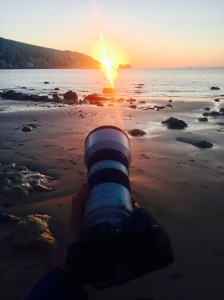
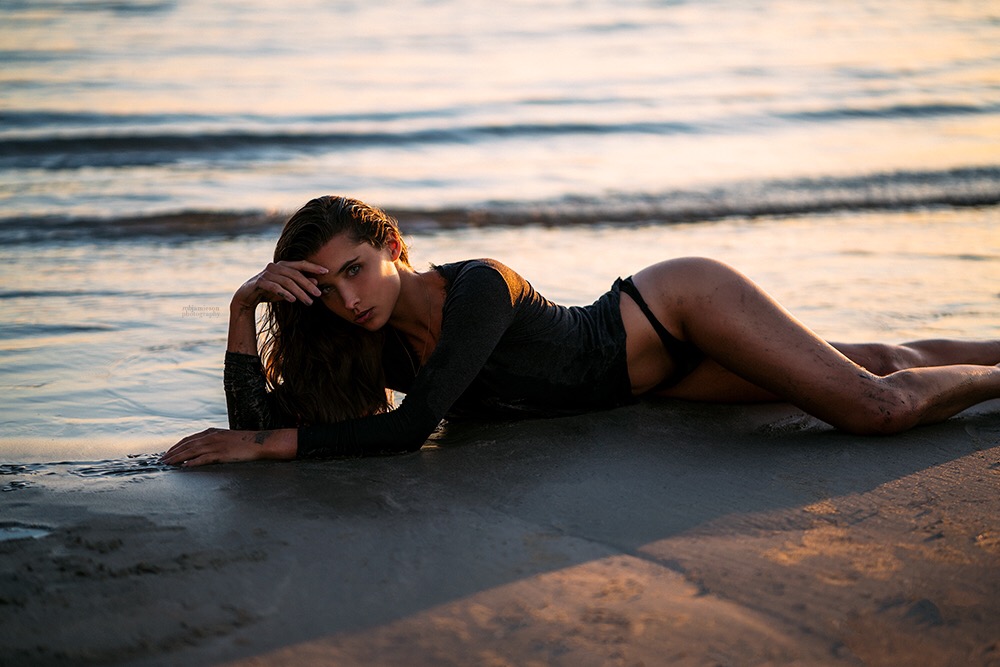
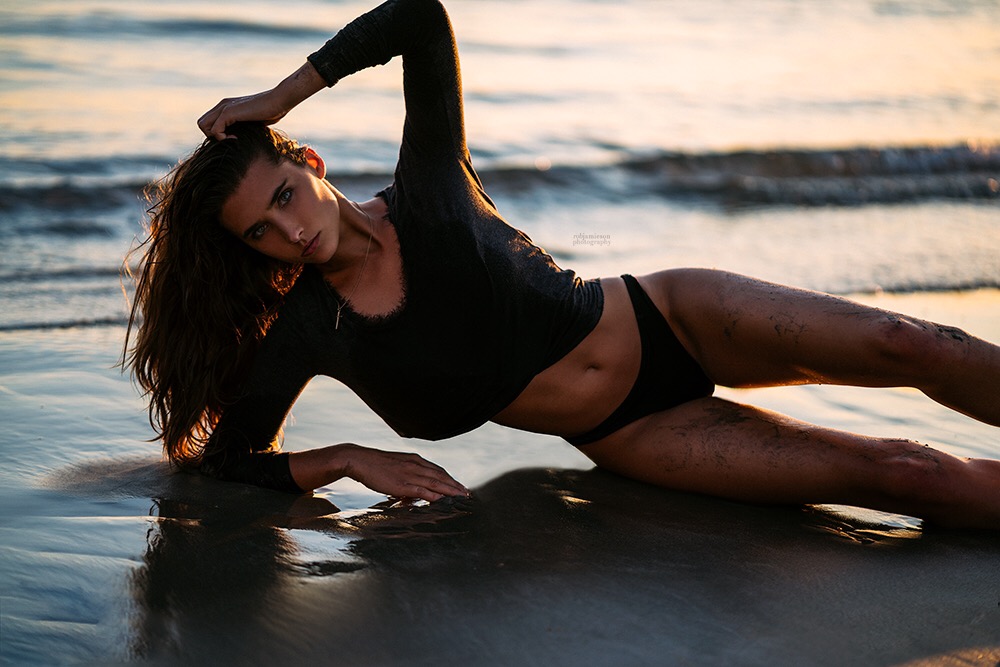
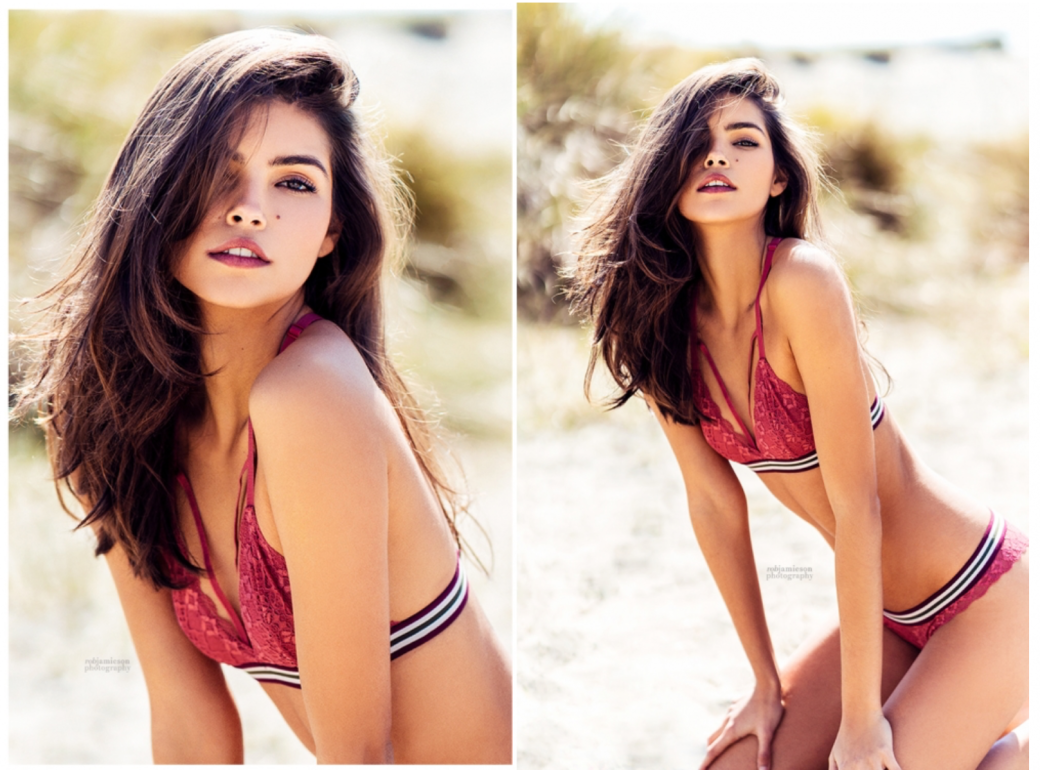
Being based by the seaside, I shoot lots of portrait sessions on sunny, bright days on the beach. When before using my Canon 5dmk2 in bright sunlight this always meant I needed a loupe to be able to view the LCD display screen on the back of the camera. With the Sony A7R mk2 the electronic viewfinder (EVF) allows for reviewing images by looking through the viewfinder while in playback, this is a great way to review images accurately/carefully, even in the brightest sunlights.
I did buy a 3rd party bigger/deeper eye cup, as I did find the original Sony eye cup leaked light in from the side.
Another valuable feature when shooting handheld portraits is the 5-axis in-body image stabilisation. I have this turned on when ever possible. Shooting at shutter speeds as low as 1/30s with no worries of camera shake.
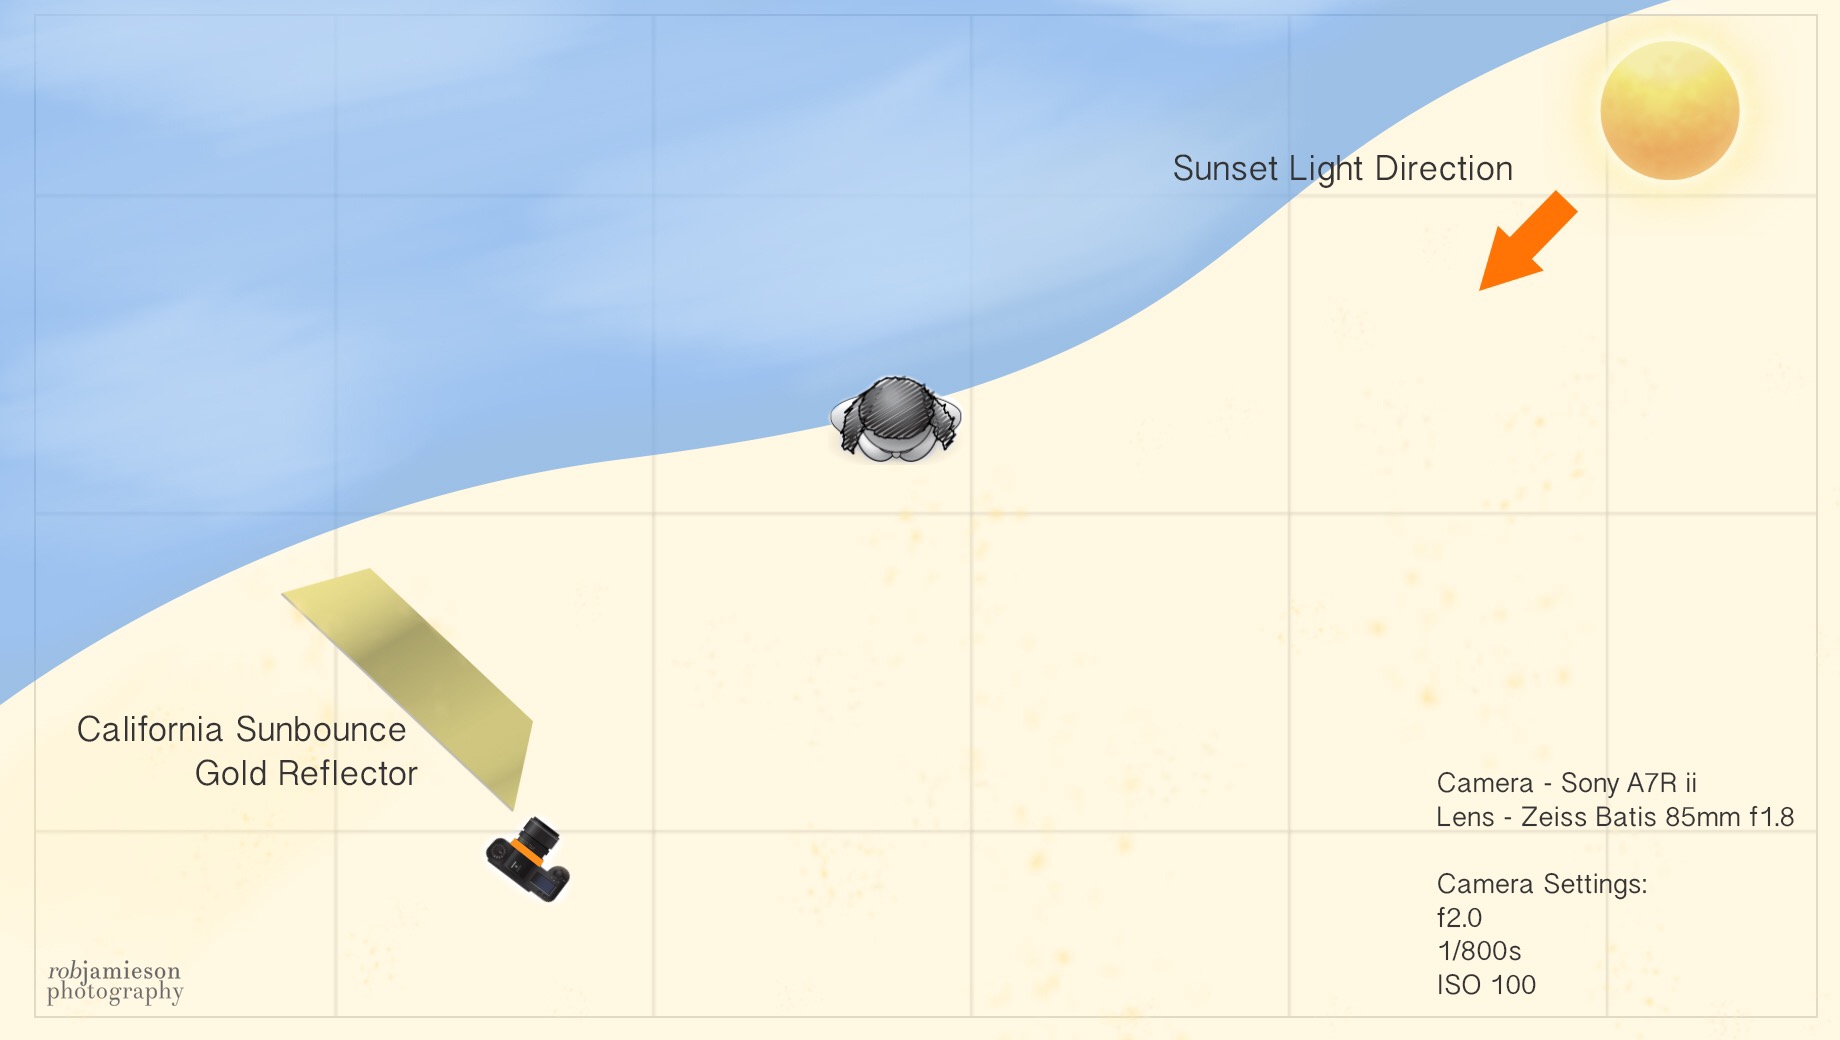
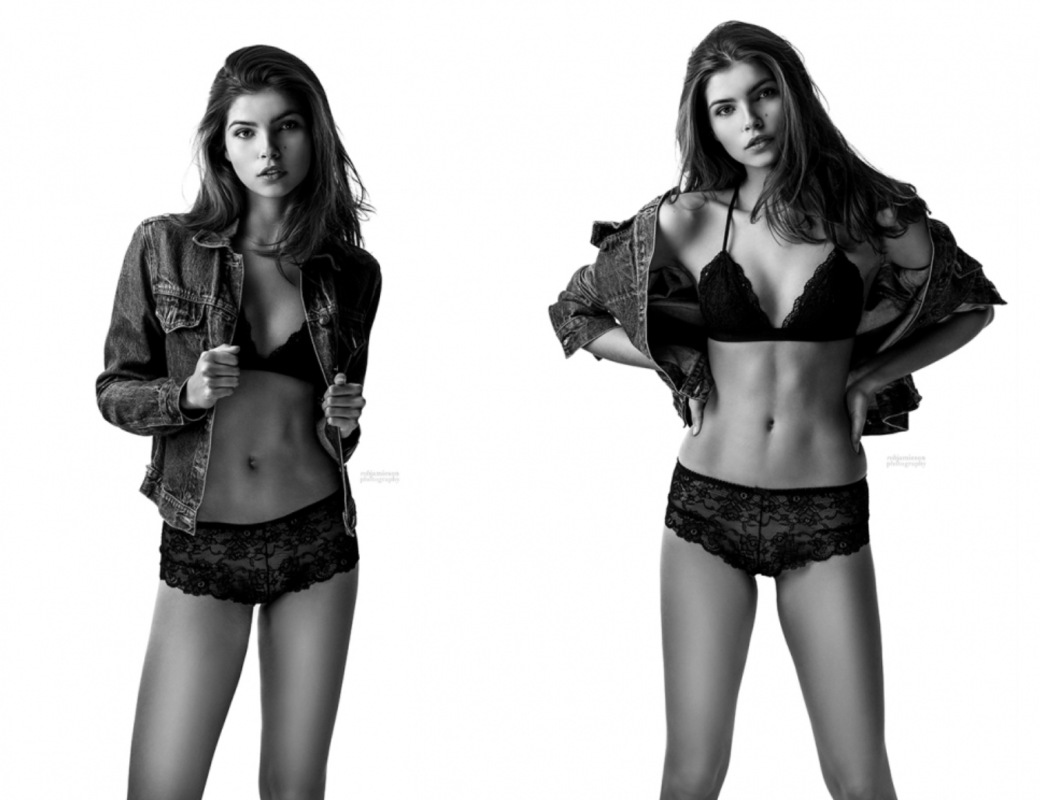
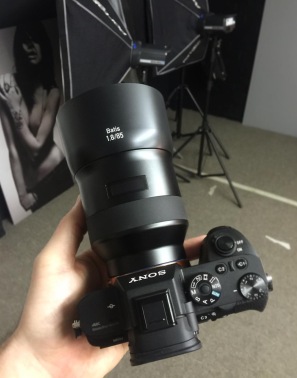
One of my ‘go-to’ setups is the pairing of the Carl Zeiss Batis 85mm f1.8 the Sony A7R mk2 (pictured below), this is a fantastic portrait camera setup, capturing immense, sharp detail in and out of the studio. With this, I also quite often use the APS-c crop mode in the menu, this makes the 85mm lens the approximate equivalent of a 136mm lens. This does render the image a 18MP file instead of the 42.3 megapixel, but it a fast way of ‘zooming in’ and still keeping the ultra sharpness of the prime instead of an actually zoom lens.
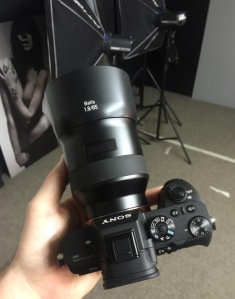
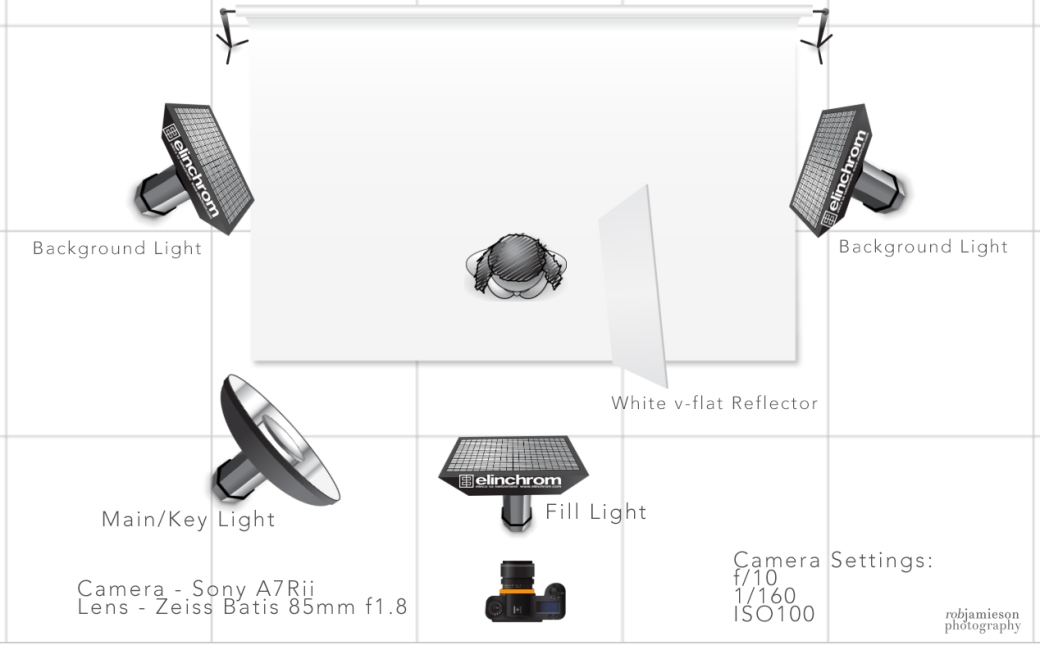
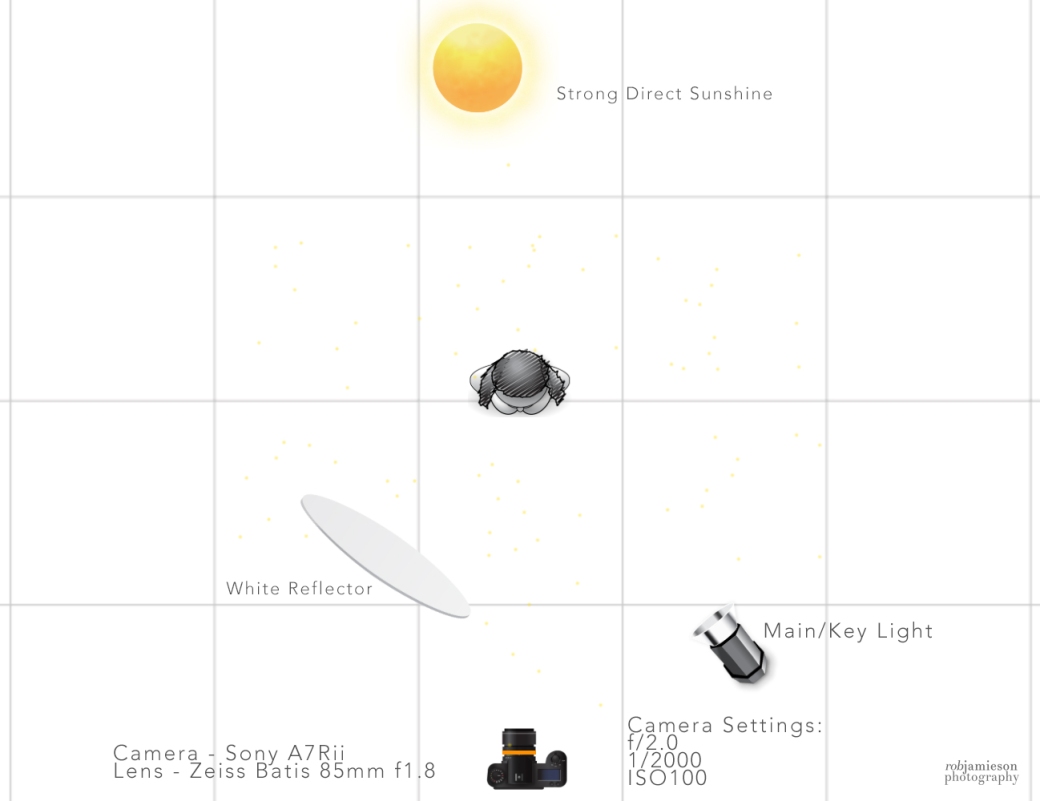
Sony A7Rii with Zeiss Batis 85mm f1.8
The Sony A7R mk2 certainly isn’t the perfect camera by all means, but in my opinion the pros massively out weight the cons. They’re are a few things that I would have liked to see in the camera; for example a better in-camera menu system, USB 3.0 instead of the USB 2.0 connection and maybe duel SD card slots instead of just the one, but all in all it’s a fantastic camera that can help produce stunning images.
Rob
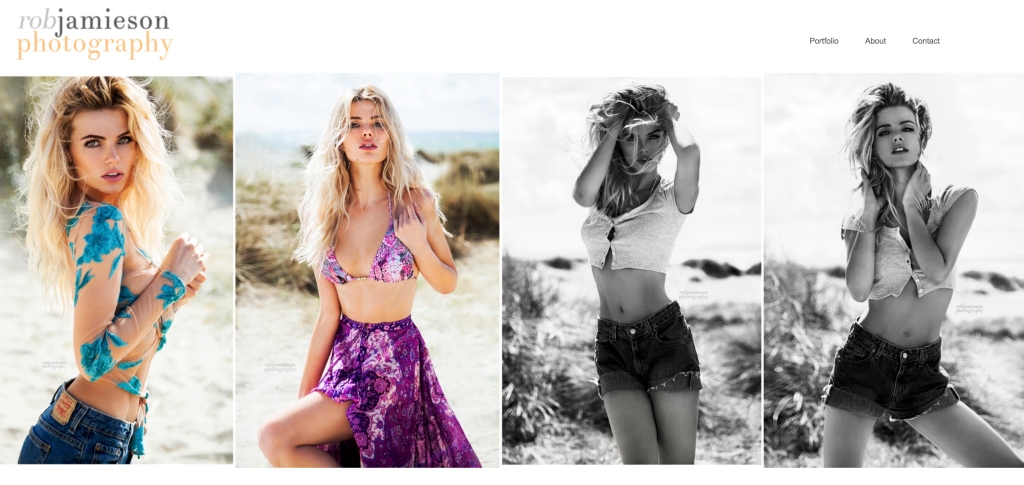
www.robjamiesonphotography.co.uk
Instagram – @robjamiesonuk
50.887427
-1.039705


